

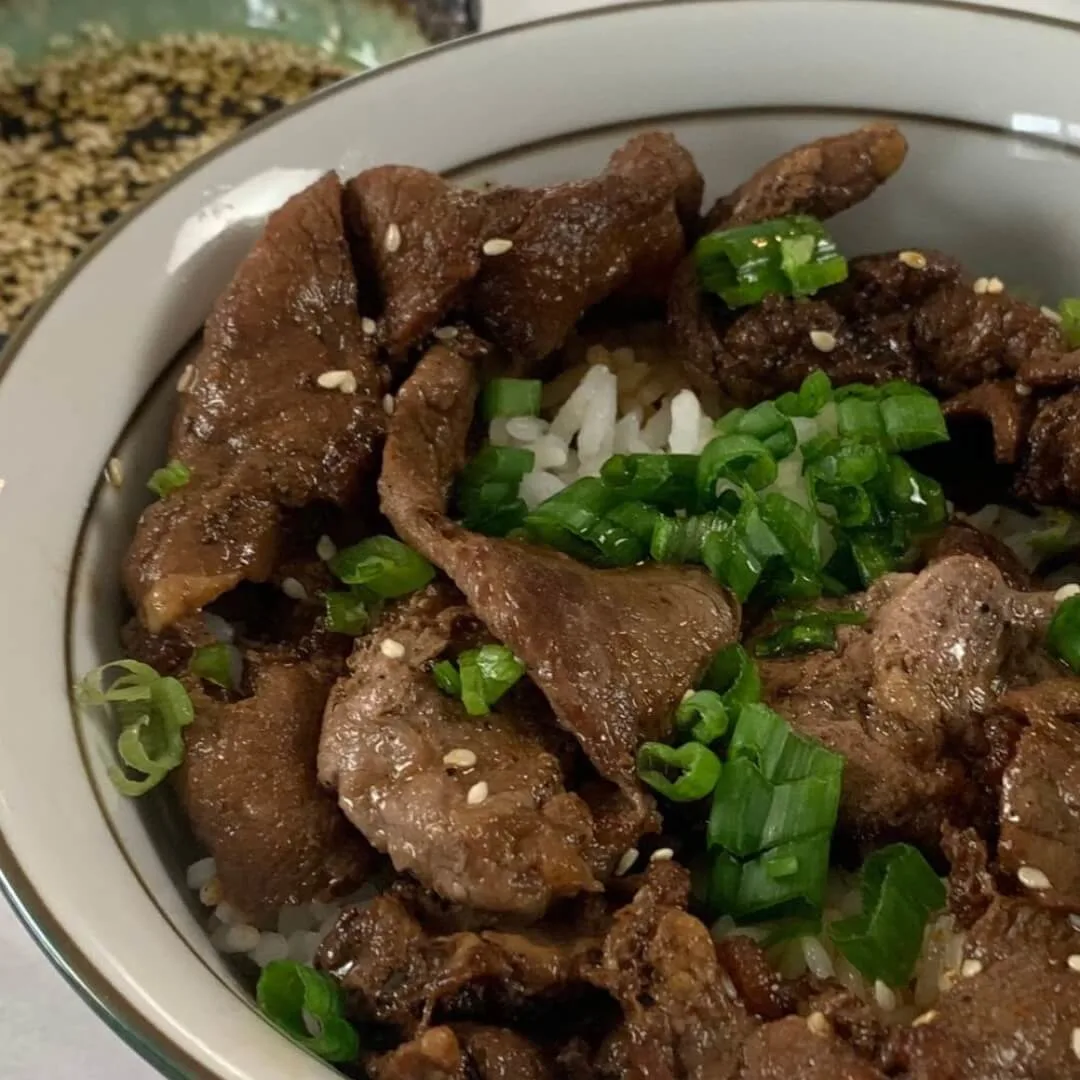
Yakiniku beef, or Japanese barbecue, has become a family favorite of ours. Even our four year old always asks for seconds of this spicy dish. While often grilled on small specialized grills, I prefer to prepare yakiniku beef in a cast iron skillet and serve it in a donburi bowl.
In this article we will walk you through how to prepare this flavorful meal step-by-step.

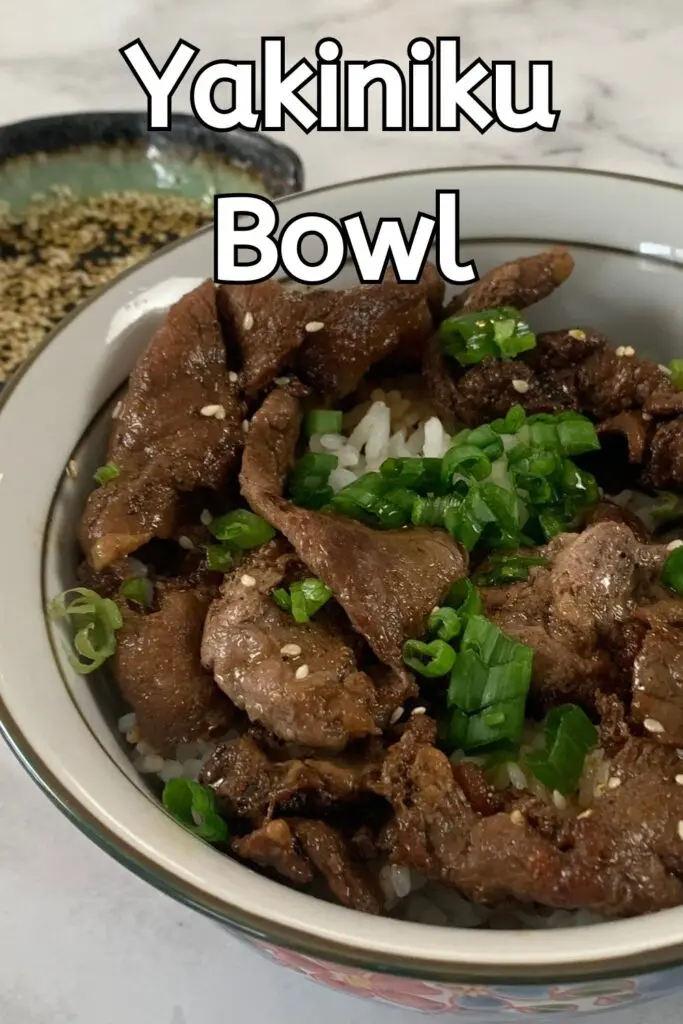
Table of Contents
What is Yakiniku?

Traditional yakiniku is a cooking method where bite sized pieces of beef are grilled over a wire mesh on a gas or electric grill. Many Japanese restaurants that serve yakiniku have individual grills at the tables where patrons can grill the beef themselves (similar to fondu restaurants).
Traditionally, yakiniku beef is not soaked in a marinade prior to cooking but rather just lightly seasoned with salt and pepper. This is because the yakiniku dipping sauce it is served with provides all the necessary flavoring for each bite.
While yakiniku is traditionally served with cabbage and other vegetables that are grilled with the meat, I prefer to serve yakiniku in a rice bowl (yakiniku donburi).
How do You Make Yakiniku?
When I make yakiniku for my family I deviate from traditional cooking methods and instead cook in a cast iron skillet. I do this for two reasons with the first being, that I don’t have a traditional yakiniku style grill. I also like to cook the beef in a little bit of yakiniku sauce, which is much easier to do in a cast iron skillet than a yakiniku grill. However, if you do have a small grill that will work, you can get the same flavor impact by marinating the meat in yakiniku sauce for 30 minutes in the fridge prior to grilling.
I also prefer to serve our yakiniku “donburi style” (meaning in a rice bowl) rather than serving with the traditional vegetables.
Below is are step-by-step instructions along with a recipe and video of our Yakinku beef recipe:
Make the Yakinku Sauce
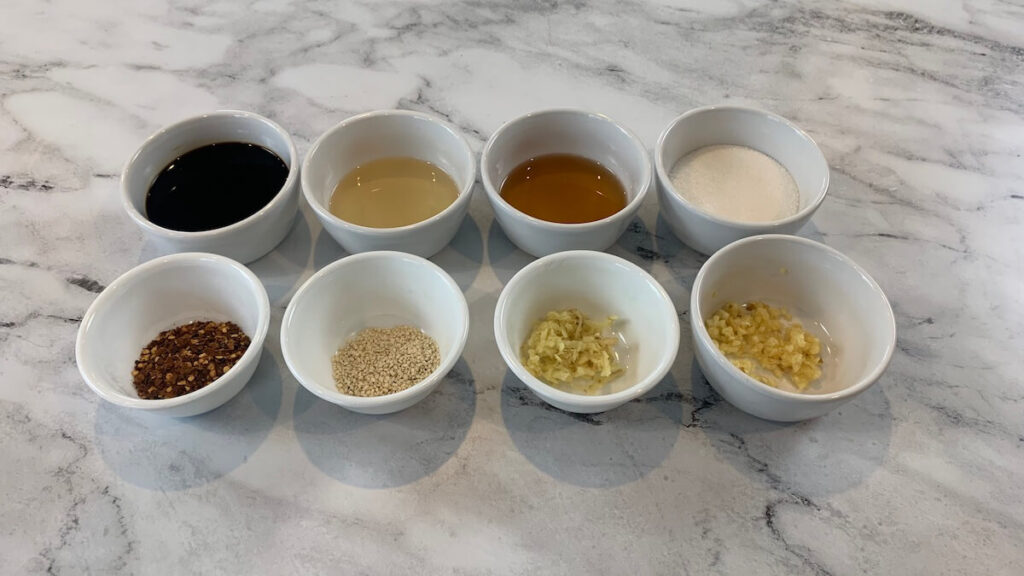
The first step to making yakiniku is to prepare the sauce.
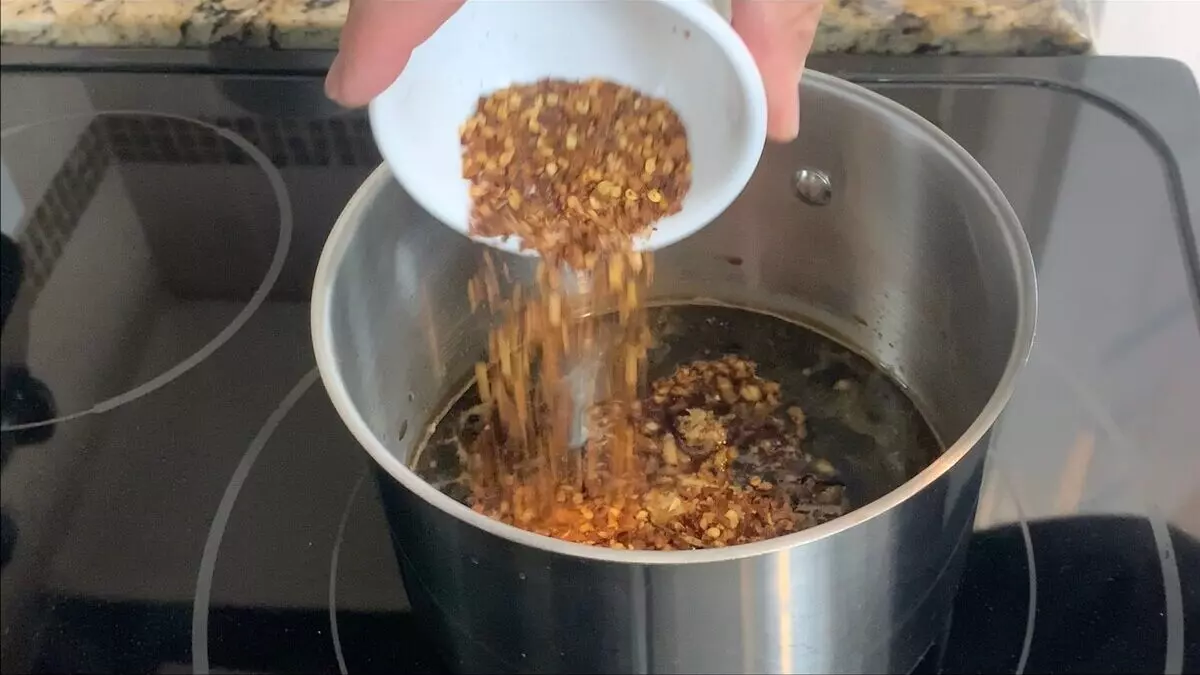
1. Assemble the ingredients. My recipe calls for one tablespoon of chili flakes. This provides some heat but is not too over-powering. As I enjoy spicy food, I will sometimes add two tablespoons of chili flakes to give it some serious heat. If you don’t enjoy spicy food at all, I would leave out the chili flakes entirely from the recipe.

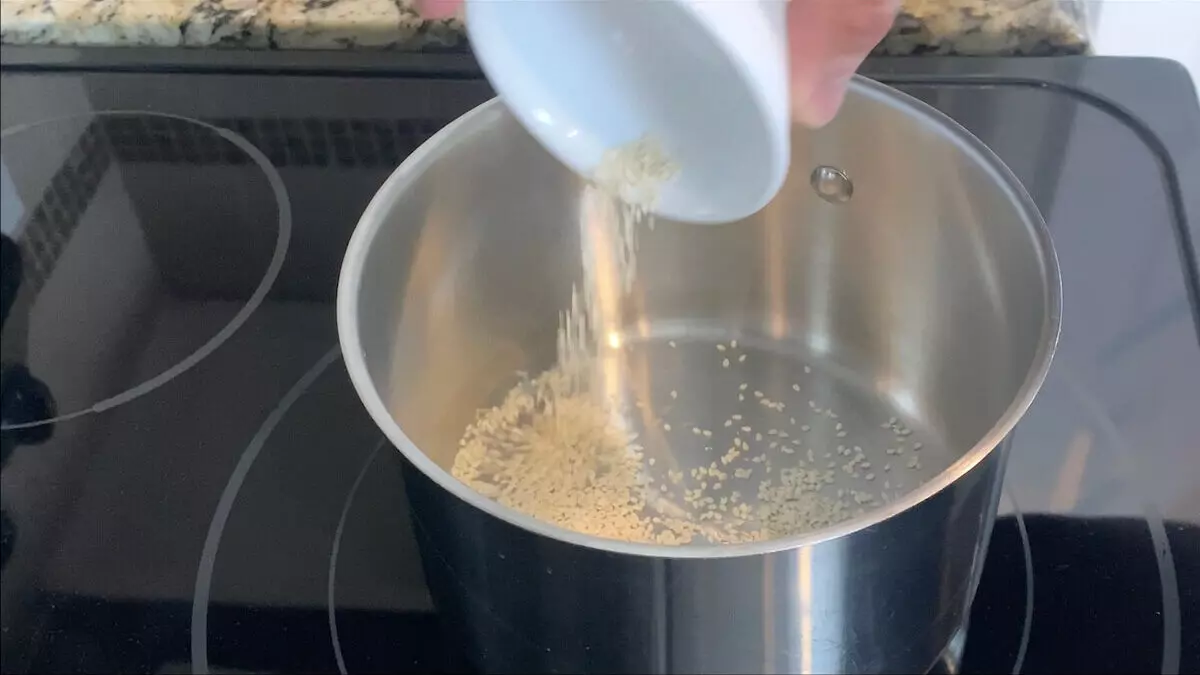
2. Roast sesame seeds in pot over medium heat for 1-2 minutes. Once the sesame seeds are browned and releasing aromas, remove from heat.

3. Combine all ingredients except the sesame seeds into a sauce pan and stir to combine.

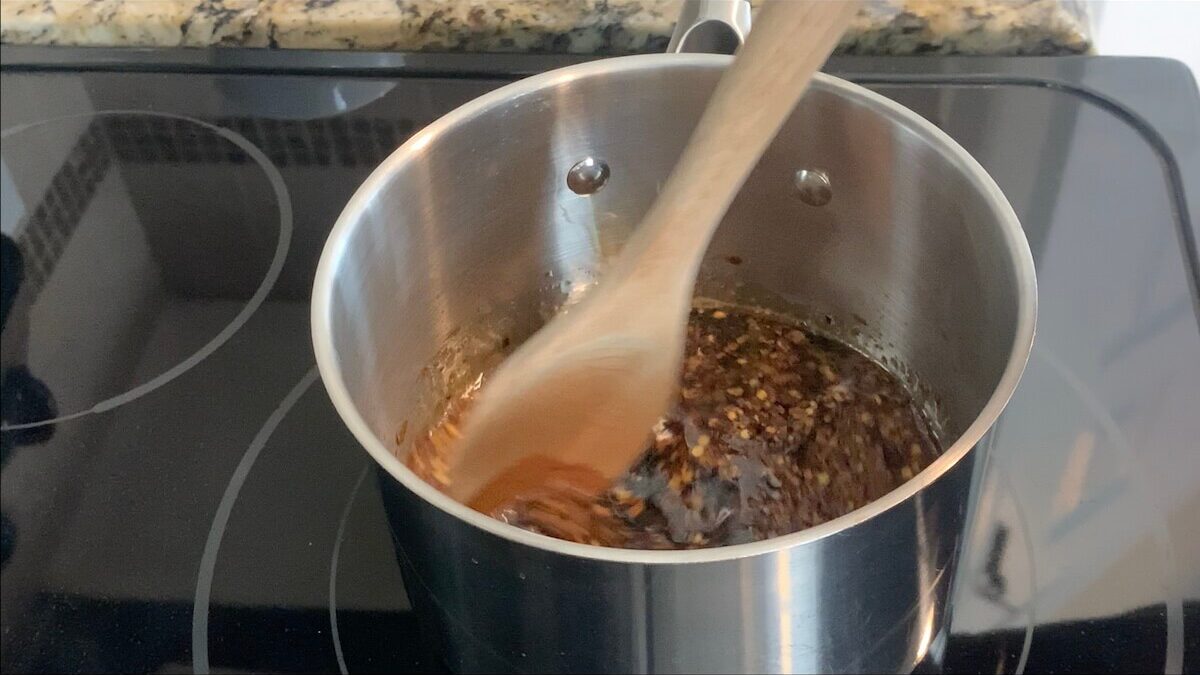
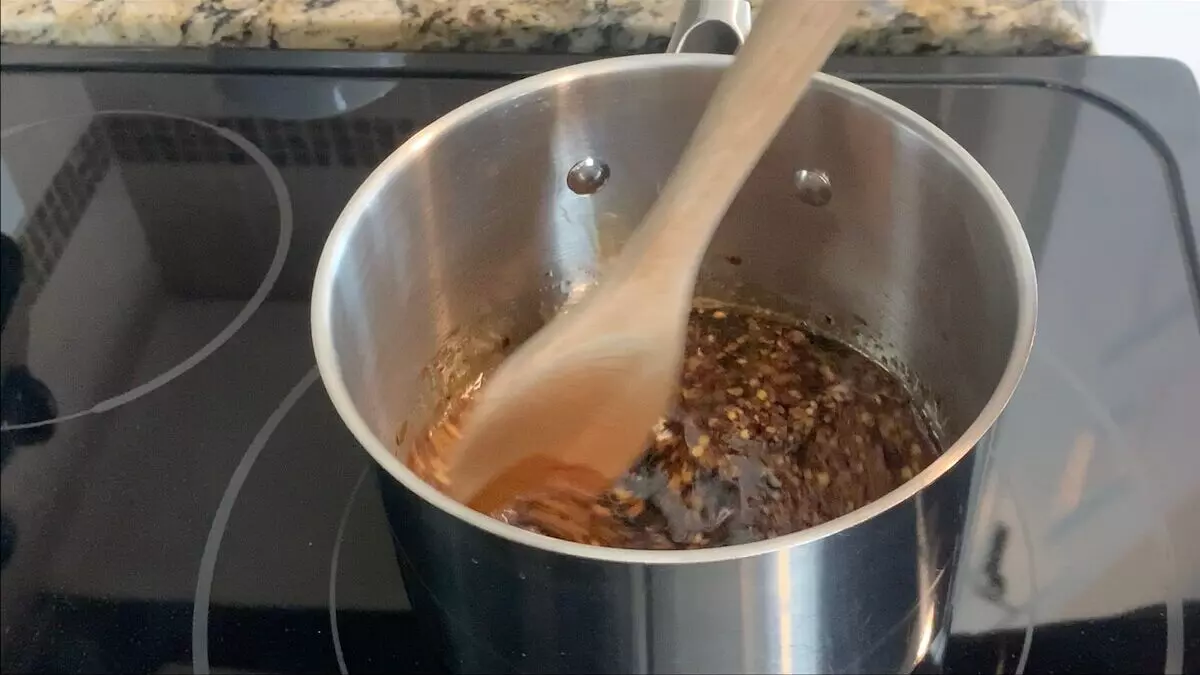
4. Heat over medium heat and bring to a simmer stirring constantly. Reduce heat once the sauce comes to a boil, and let the sauce simmer for 5 minutes continuing to stir frequently.
5. Remove from heat and allow to cool for at least 20 minutes (the longer the better).
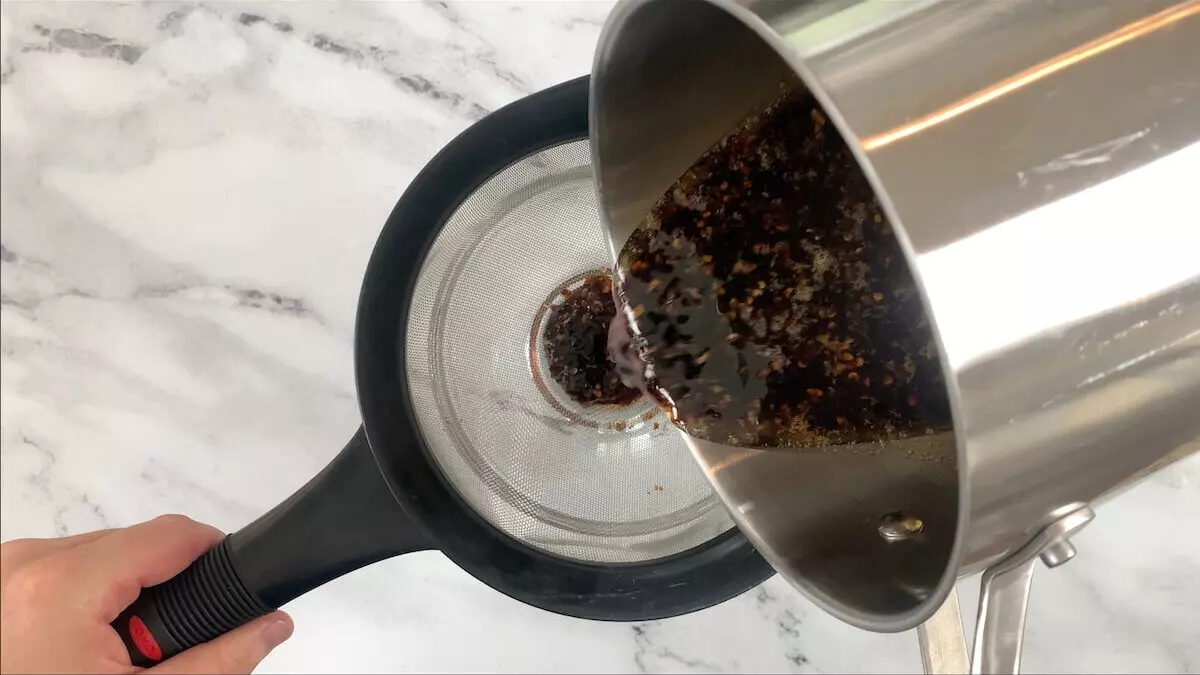
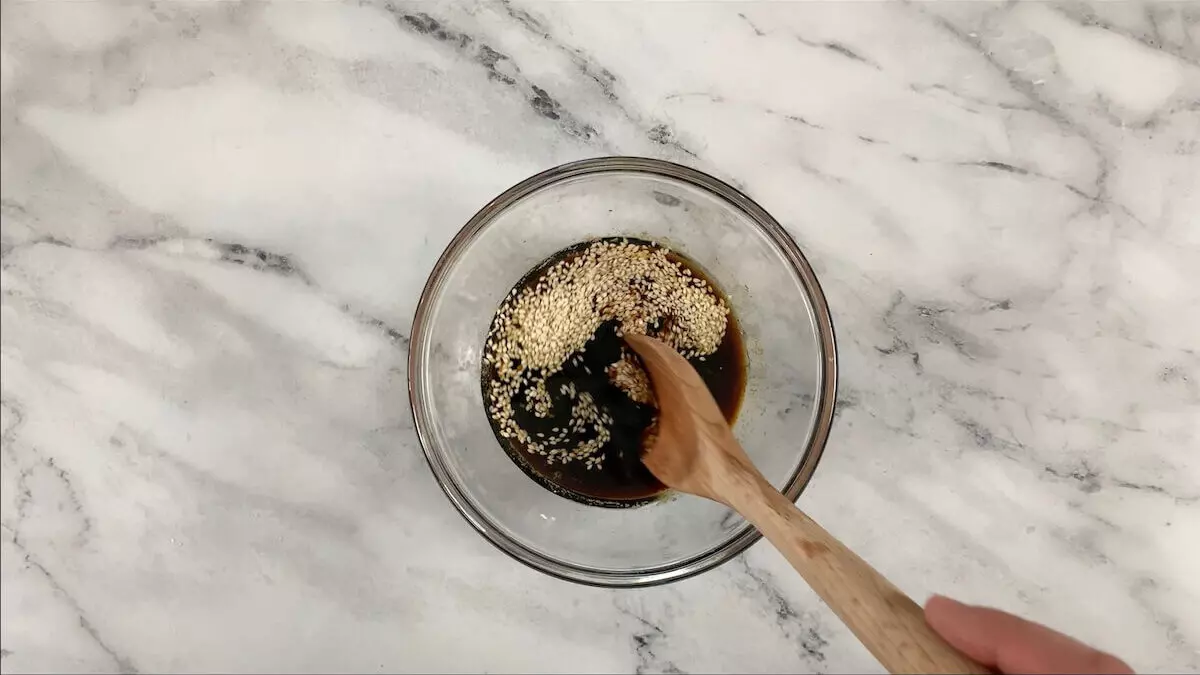
6. After the sauce has had plenty of time to cool and meld the flavors together, strain the sauce into a mixing bowl.

7. The final steps to making yakiniku sauce is to add the sesame seeds and gently stir them into sauce.

Cook the Beef
Now that the sauce is prepared, it is time to prepare the beef.
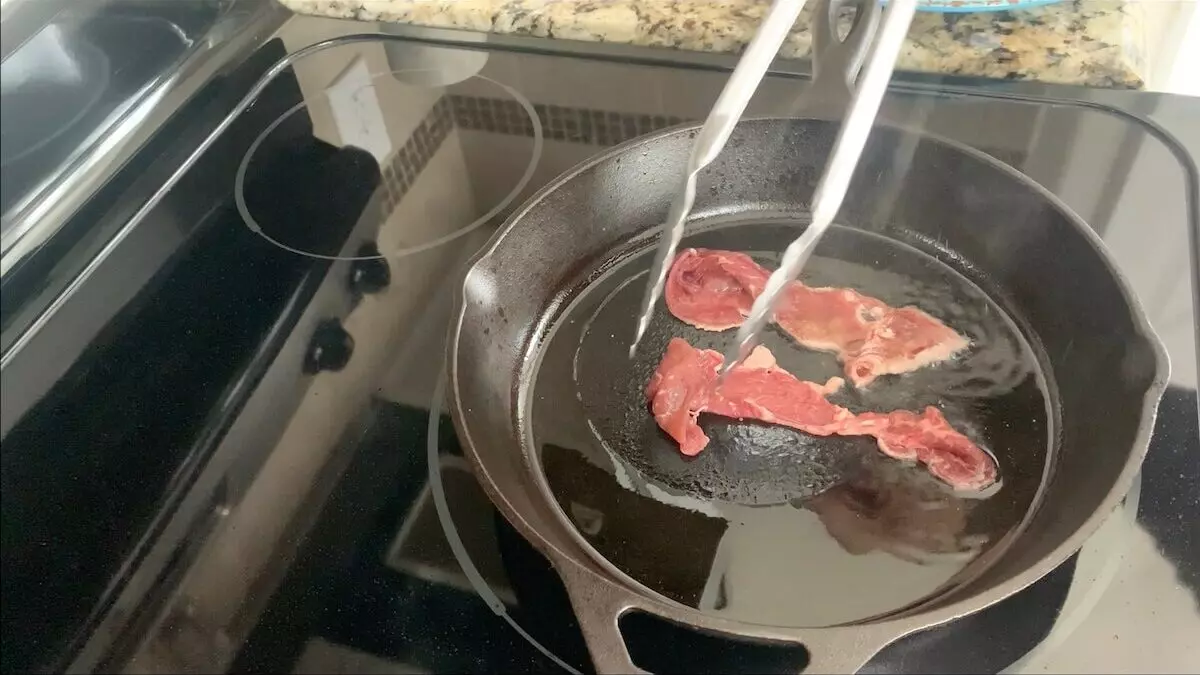
1. Heat a skillet on medium heat and add vegetable oil.


2. Lightly season the beef with salt and pepper.
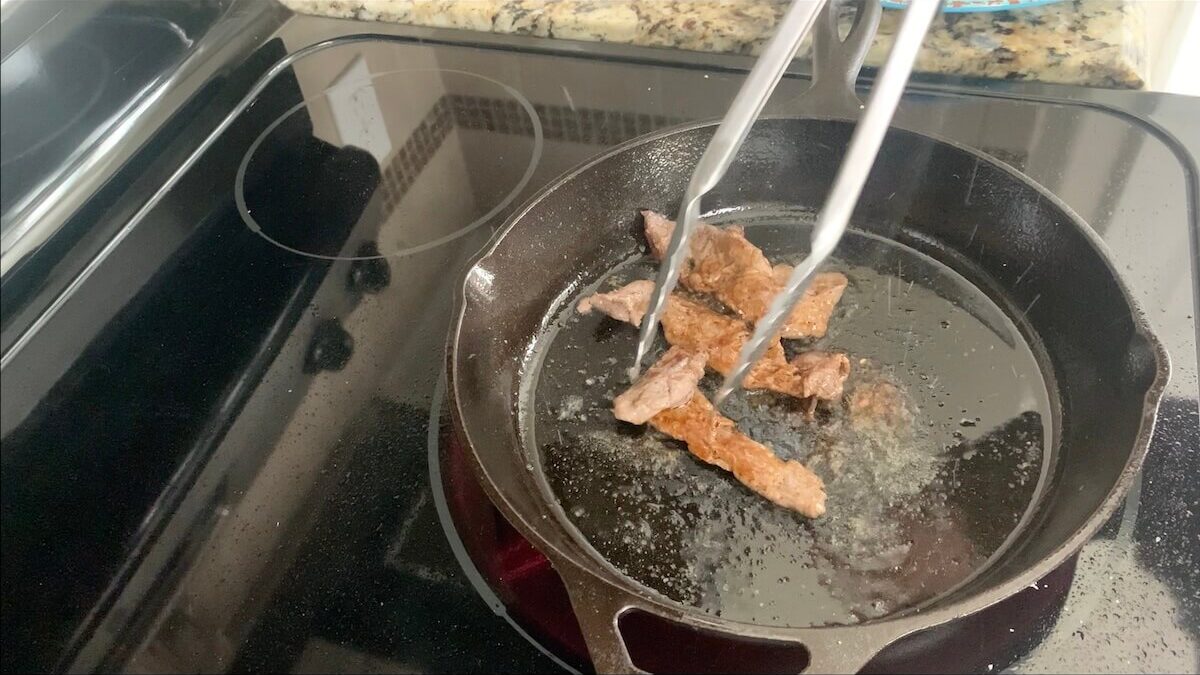
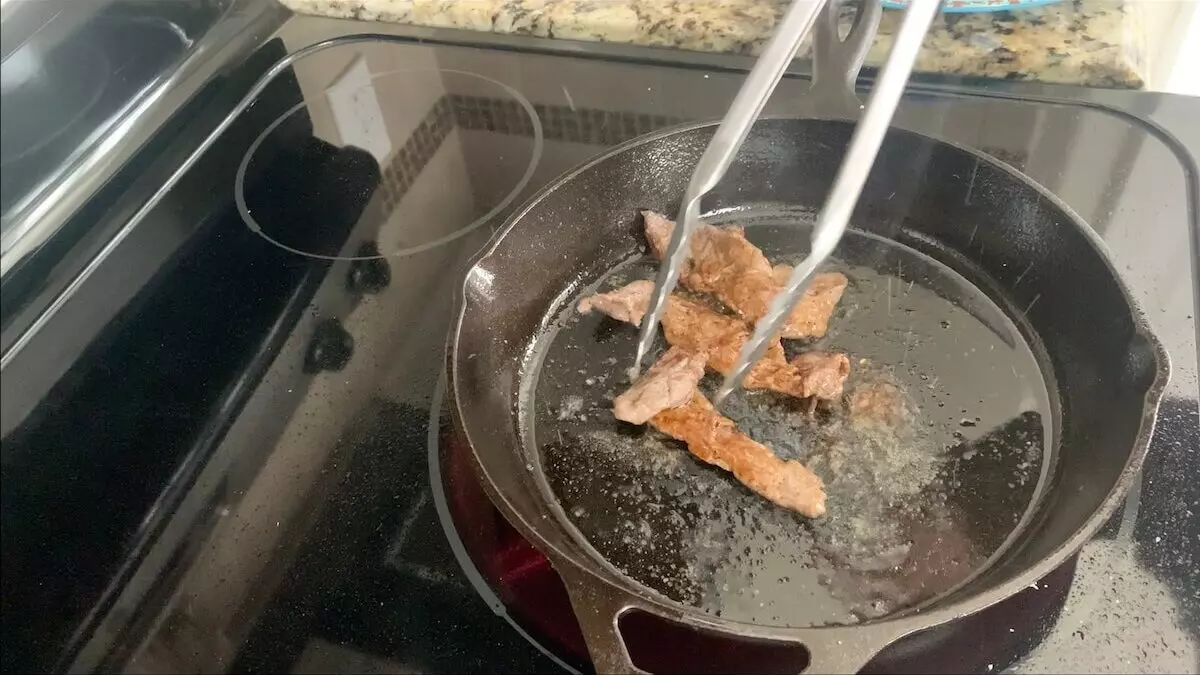
3. Once the pan is hot, add a few strips of beef at a time and sear first side for about 30 seconds and flip. Sear other side for 15 seconds making sure not to over cook.

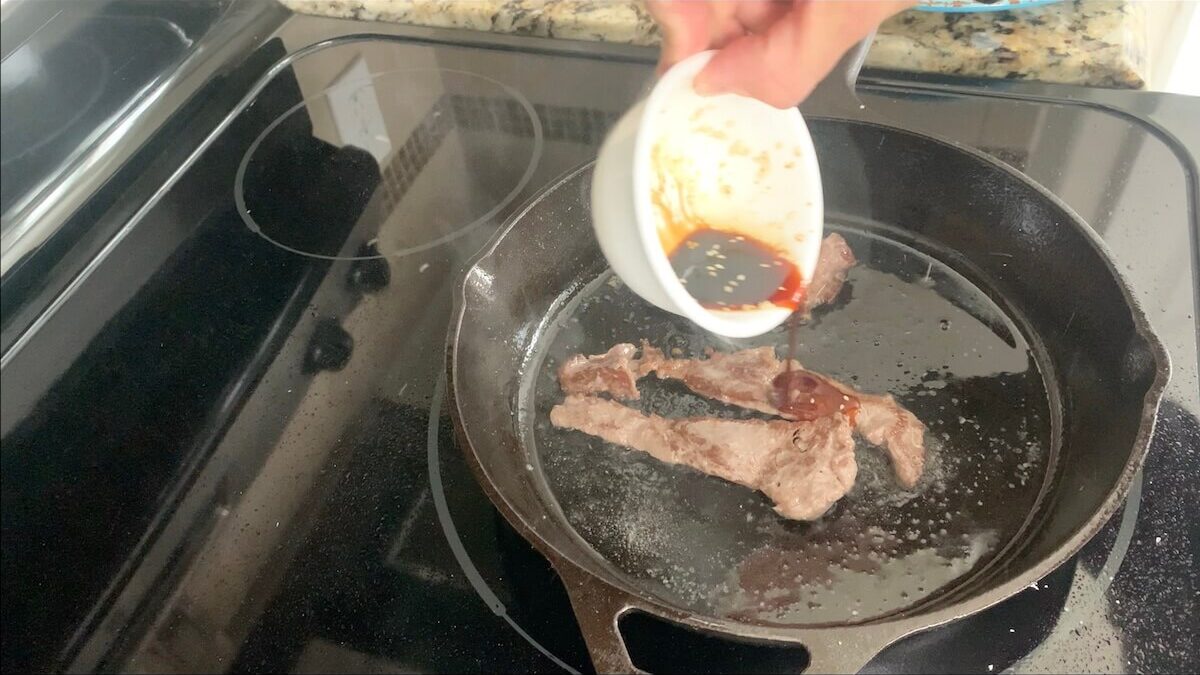
4. Lightly drizzle some yakiniku sauce over the beef while it is cooking. I like to use a total of 1/4 of a cup of yakiniku sauce for cooking the meat and save the other 3/4 cup of sauce for later. Flip pieces in the sauce making sure each side coated and cook until the sauce is hot and begins to bubble.

5. After the beef is done cooking, remove from pan with chopsticks or tongs.
Assemble the Yakiniku Donburi
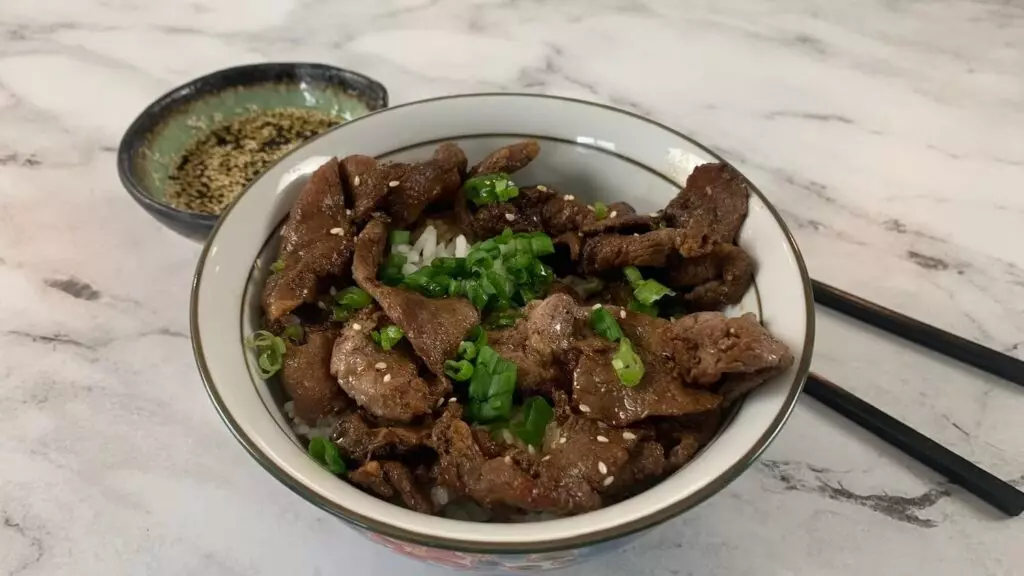
1. Add 1 1/2 cups of rice to a bowl, add 1/4 of the beef on top of the rice, and garnish with the diced green onions. Drizzle yakiniku sauce over the top of the rice bowl or use remaining yakiniku sauce as a dipping sauce for beef as needed.

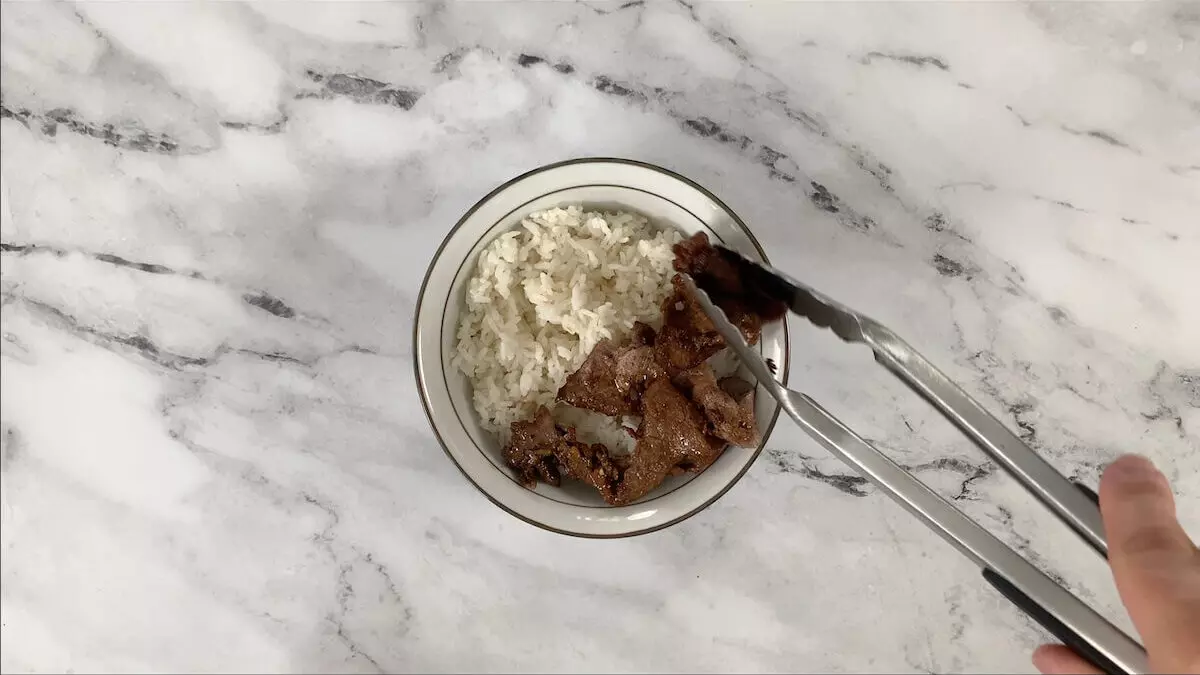
2. Serve and enjoy!
Yakiniku Recipe

Yakiniku Beef Recipe
Equipment
- 1 Sauce pan
- 1 Mixing bowl
Ingredients
Yakiniku Sauce
- 1/2 Cup Soy sauce
- 1/4 Cup. Mirin
- 1/4 Cup Sesame oil
- 3 Cloves Garlic
- 1/4 Cup Sugar
- 1 Tbsp. Crushed red pepper
- 1 Tbsp. Ground ginger
- 1 Tbsp. White sesame seeds
Yakiniku Beef
- 1 Lb. Thinly sliced beef
- 2 Tbsp. Vegetable oil
- 6 Cups Cooked short grained rice
- 2 Green onions Diced
- Salt
- Pepper
Instructions
- Roast sesame seeds in pot over medium heat for 1-2 minutes. Once the sesame seeds are browned and releasing aromas, remove from heat.
- Combine all ingredients except the sesame seeds into a sauce pan and stir to combine.
- Heat over medium heat and bring to a simmer stirring constantly. Reduce heat once the sauce comes to a boil, and let the sauce simmer for 5 minutes continuing to stir frequently.
- Remove from heat and allow to cool for at least 20 minutes. This will allow the flavors to continue melding together.
- Once cool strain into a mixing bowl and mix in the sesame seeds.
Cook the beef
- Heat a skillet on medium heat and add vegetable oil.
- If not yet cut, slice beef into thin, bite-size slices. Lightly season with salt and pepper.
- Once the pan is hot, add a few strips of beef at a time and sear first side for about 30 seconds and flip. Sear other side for 15 seconds making sure not to over cook. Lightly drizzle some yakiniku sauce over the beef while it is cooking. I like to use a total of 1/4 of a cup of yakiniku sauce for cooking the meat and save the other 3/4 cup of sauce for later.
- Flip pieces in the sauce making sure each side coated and cook until the sauce is hot and begins to bubble.
- After the beef is done cooking, remove from pan with chopsticks or tongs.
Assemble Donburi Bowl
- Add 1 1/2 cups of rice to a bowl, add 1/4 of the beef on top of the rice, and garnish with the diced green onions. Drizzle yakiniku sauce over the top of the rice bowl or use remaining yakiniku sauce as a dipping sauce for beef as needed.
- Serve and enjoy!
Video
Notes
Nutrition
Frequently Asked Questions
Is yakiniku gluten-free?
Generally, if you order yakiniku at a restaurant it will contain gluten unless it specifically states that it’s gluten-free. This is because the yakiniku sauce contains soy sauce as one of it’s ingredients. However, you can easily make yakiniku beef gluten-free by substituting the soy sauce for a gluten-free version (as I always do as my wife is gluten-free).
Where is yakiniku popular?
Yakiniku beef originated in Japan in the 1950’s and was derived from Korean barbecue. Today, yakiniku is popular throughout Japan with eating at yakiniku restaurants being a popular social activity.
Final Thoughts on Yakiniku Beef
If you are looking for something different that is full of flavor and is fairly quick and easy to make, I encourage you to give this recipe a try. This is always a crowd pleaser even for my often picky kids. Happy cooking!
For more great videos subscribe to our YouTube Channel.
Check out below for more great articles:
Authentic Vegetable Tempura Recipe