If you grow green beans or, in my case, are lucky enough to have in-laws that grow enough green beans to have lots of extras, you are likely faced with the wonderful problem of having more fresh green beans than you can eat. In this article we will explore how to best save these nutritious and delicious vegetables without letting any go to waste.
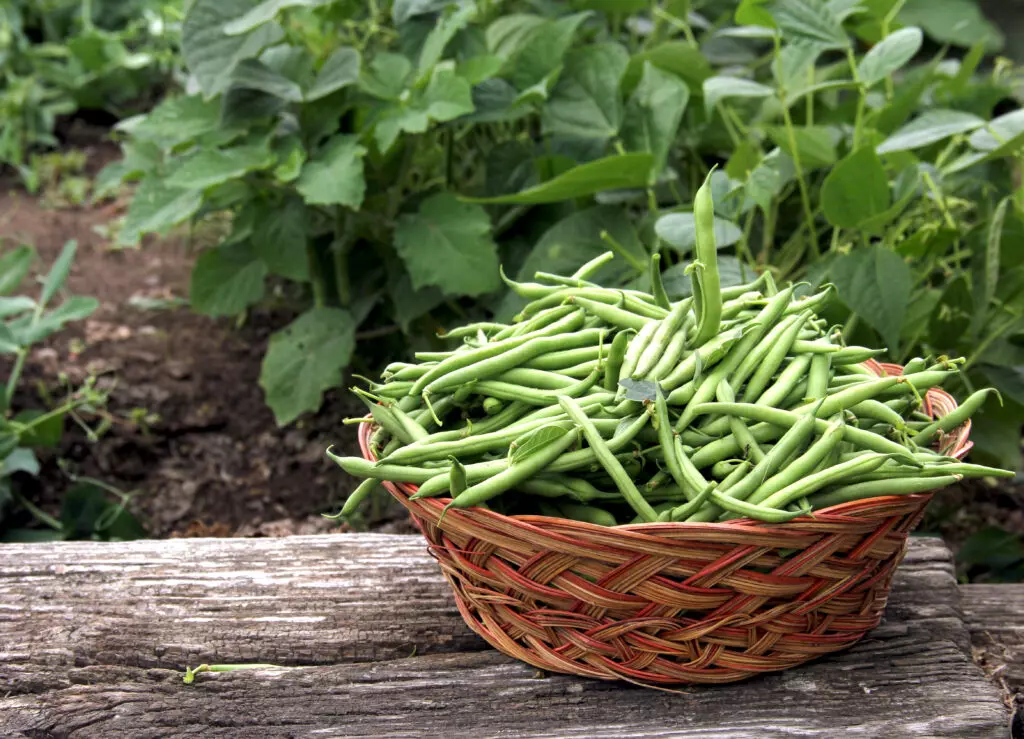
Table of Contents
Freezing vs Canning
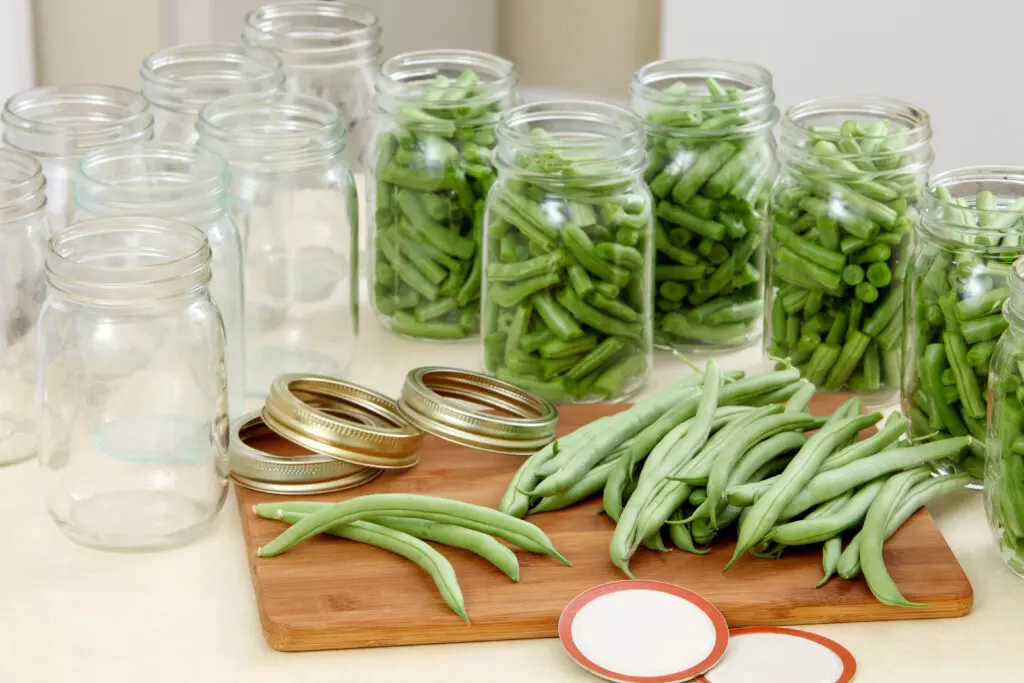
I am a firm believer of freezing over canning when it comes to green beans. Freezing maintains the nutrients and, in my opinion, the fresh taste better than canning. Plus, it doesn’t require a pressure canner and is a lot less of a hassle.
Canned green beans, however, can be stored at room temperature so this may be a good option if you have limited freezer space.
How Long do Frozen Green Beans Last?
If properly blanched and stored in the proper containers, I would expect your frozen green beans to last anywhere from six months to a year. However, the closer you get to the one year mark, the greater the risk of your green beans losing their crisp texture and fresh flavor.
What is Blanching?
Blanching is the process where a vegetable is submerged briefly into boiling water (two to three minutes for green beans but it varies based on the vegetable), after which they are immediately removed and cooled in ice water to quickly stop the cooking.
To those who are new to freezing fresh vegetables, the process may sound a little intimidating. However, it’s much easier than it sounds and is essential for retaining the vibrant colors and flavors of the fresh vegetables. Being able to enjoy fresh vegetables year round definitely makes it worth the effort.
If you don’t blanch your green beans before freezing you run the risk of them losing their texture and vibrant green color.
Step-by-Step Guide to Blanching and Freezing Green Beans
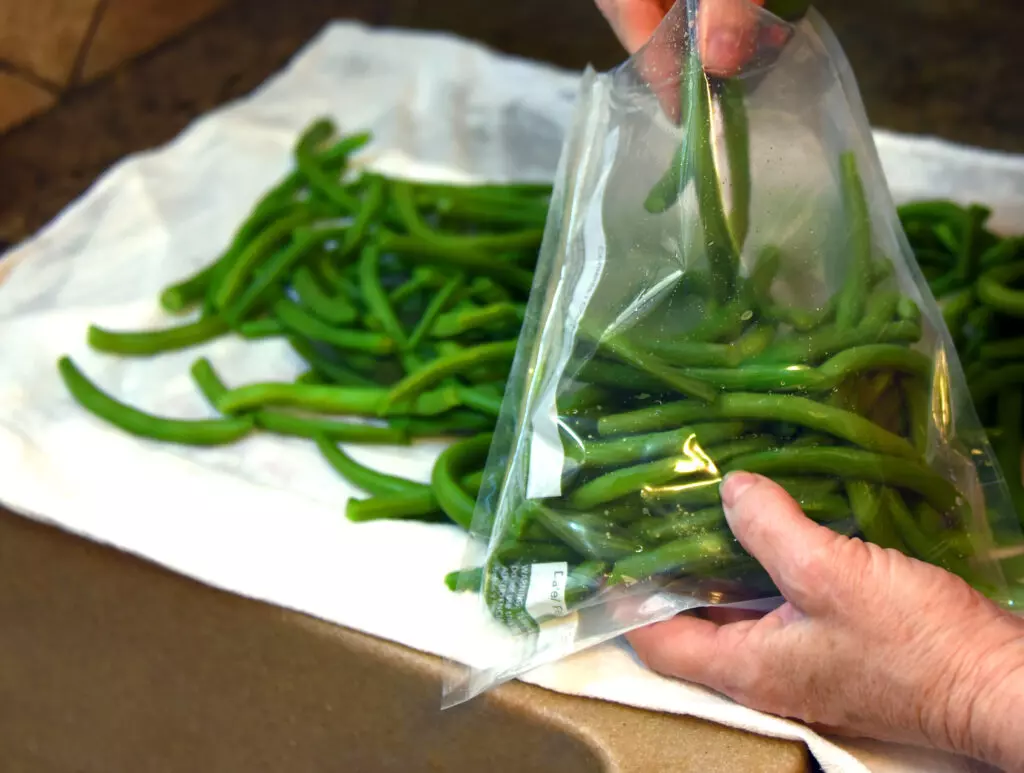
- Step 1: Trim the stringy ends off the green beans. Some people like to trim both sides because they believe it think it looks more appetizing. I prefer to leave the bottom as I think it gives it a more natural look.
- Step 2: (OPTIONAL) While I like to keep my green beans whole, many people like to cut their green beans into smaller halves or thirds prior to freezing. This is optional depending on your preference.
- Step 3: Wash your trimmed green beans in cold water. At this time I also like to fill a pot with ice water to have ready for when you need to add the green beans to it. Make sure you have enough ice water to submerge all your green beans but not too much to where it will overflow when you add the green beans.
- Step 4: While washing your green beens, bring a large pot of water to a boil. Be careful not to fill your water too high as you will be adding your green beans to it. The water should be high enough to submerge all your green beans but not too full to where it overflows when you add your green beens.
- Step 5: Once the water is boiling, add your green beans to the pot. The water may temporarily stop boiling when you add the green beans. You want to leave your green beans in the water after it returns to a boil for 3 minutes (2 minutes if cut into smaller pieces)
- Step 6: Remove the green beans after the three minutes are up, strain, and quickly add to the pot of icy water that you got ready in Step 3. I would mix around with your hands to assure all the beans are cooled.
- Step 7: After the beans have cooled for 3 minutes, remove from icy water and strain. At this point your green beans are blanched and ready to be frozen!
- Step 8: Divide your blanched green beans into convenient meal-sized portions and place into freezer bags or other appropriate freezer storage containers and put in the freezer. If using freezer bags, make sure to push as much of the air out as possible before sealing.
How do You Thaw Frozen Green Beans?
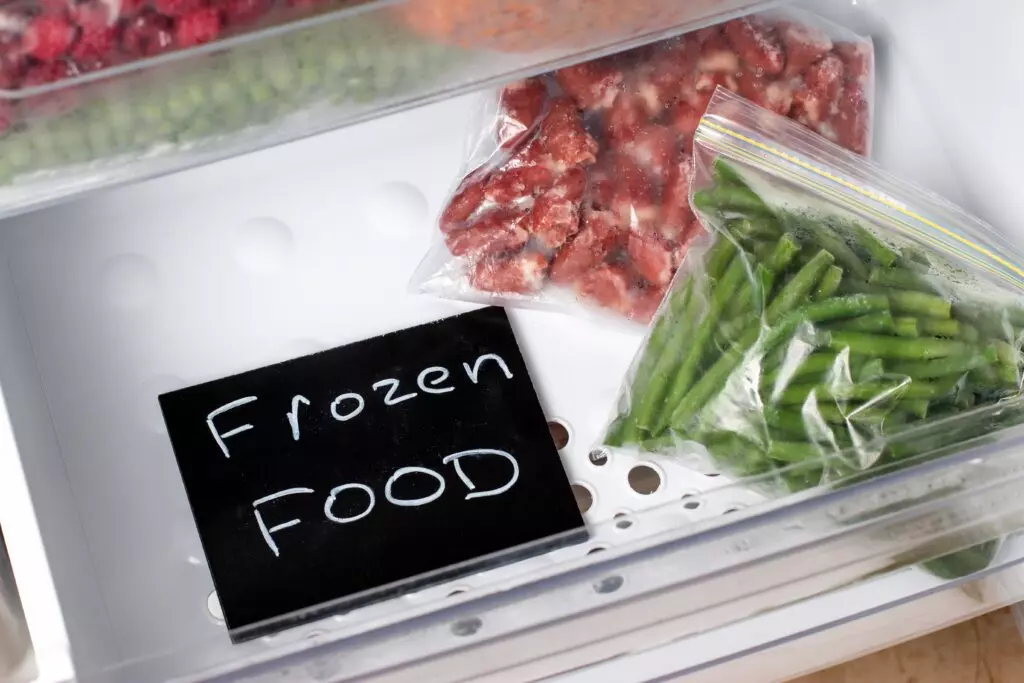
In many recipes you don’t need to thaw before adding. I love adding frozen green beans directly into pots of soup and stew where it will simmer and cook for long periods of time. However, if the recipe calls for cooked green beans or if you want to enjoy them by themselves, you need to thaw and cook.
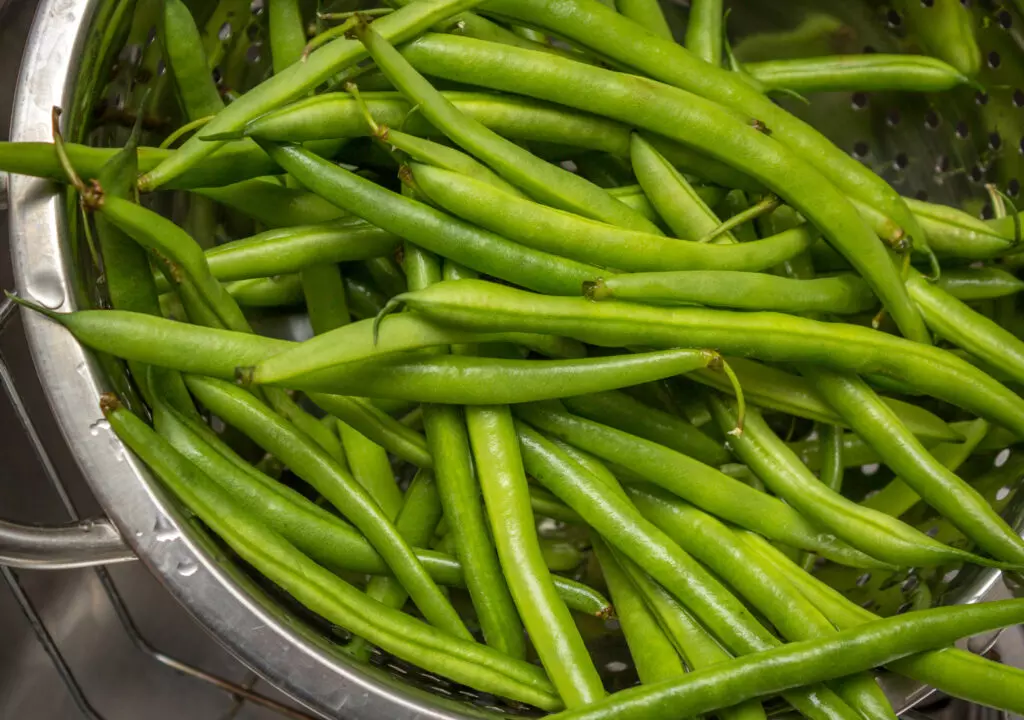
To thaw, I place the frozen green beans in a colander and run cold water over them until thawed. When cooking, remember to reduce the normal cooking time by three minutes because they have already been partially cooked when blanching.
Frequently Asked Questions
How long do fresh green beans last in the refrigerator?
Fresh green beans typically last three to five days in the fridge before starting to lose their crisp texture and fresh flavor.
Can you freeze cooked green beans?
Yes. In fact, many casseroles containing cooked green beans freeze well and taste just as good when thawed and reheated. If you are freezing cooked green beans by themselves, they could have a softer and more watery texture after they are thawed.
Final Thoughts on Freezing Green Beans
Given the choice, I would always choose garden fresh green beans over store bought. Freezing is a great way to assure you can enjoy fresh green beans year round. If you don’t have a garden, you can still buy fresh green beans from the farmers market in bulk and freeze what you don’t eat. I hope you have found this article helpful! Happy cooking!
For more great food storage answers check out the below articles:
Can You Freeze Egg Salad? Best Egg Salad Storage Tips!
Does Vanilla Extract Go Bad? Your Guide to Storing Vanilla Extract
The 15 Best Bacon Grease Substitutes
Also, subscribe to our YouTube Channel for some great videos!
